There's a place for art in Minecraft: learning how to make paintings
Decorate your Minecraft world with ease! This guide provides a simple, effective method for creating and placing paintings, adding a touch of personalized flair to your blocky abode.
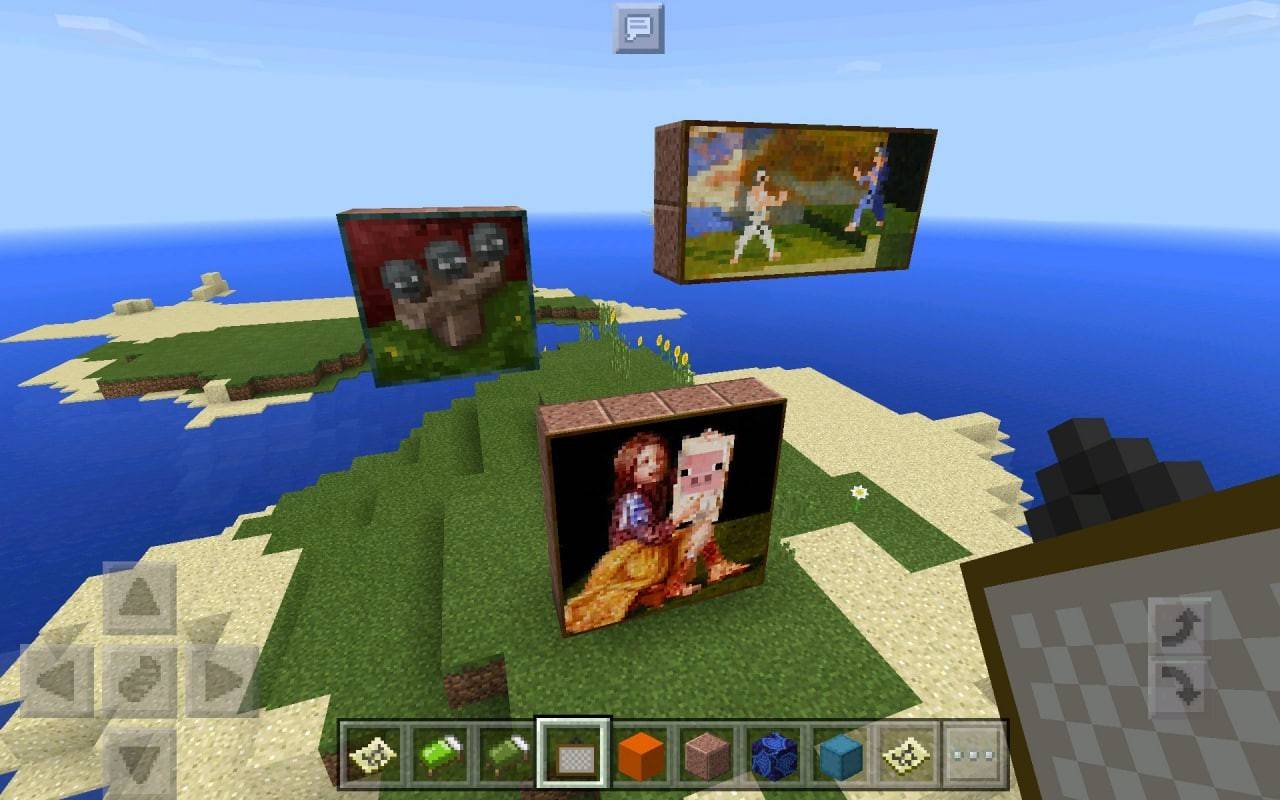 Image: photo-search.site
Table of Contents:
- Necessary Materials
- Crafting Paintings
- Hanging Paintings
- Custom Paintings
- Interesting Facts
Gathering the Essentials:
To begin your artistic endeavor, you'll need just two common materials:
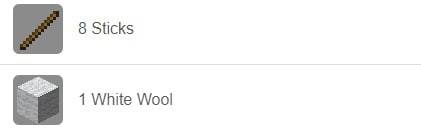 Image: digminecraft.com
- Wool: Shear a sheep – any color will do!
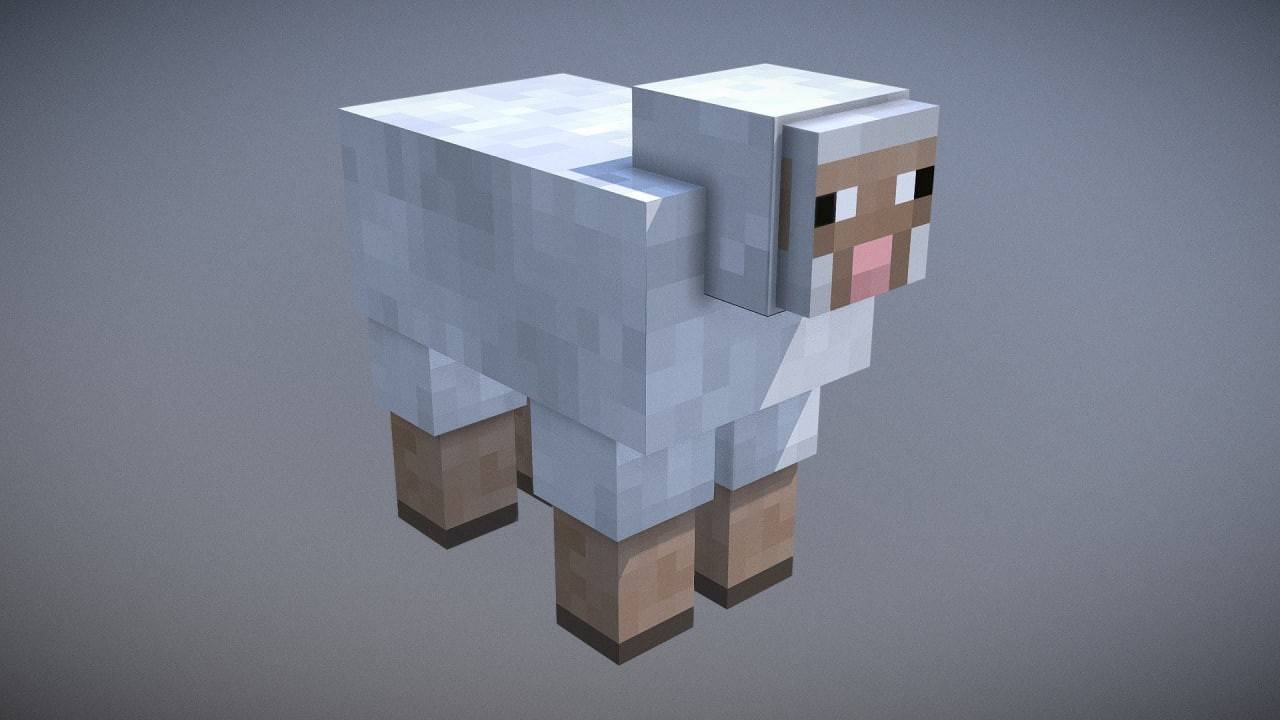 Image: steamcommunity.com
- Sticks: Chop down a tree and craft planks into sticks. It's a simple one-click process in your crafting inventory.
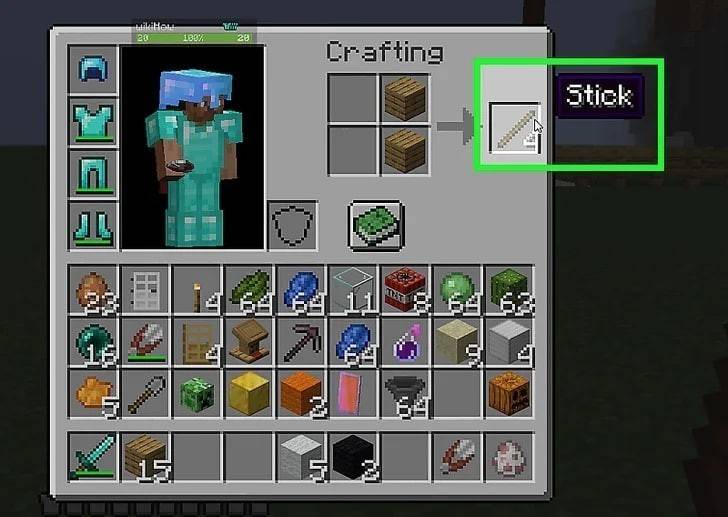 Image: wikihow.com
Crafting Your Masterpiece:
Open your crafting grid and arrange the materials as shown below. Place the wool in the center square, surrounded by the sticks.
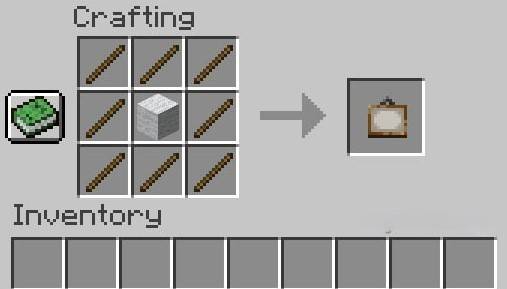 Image: digminecraft.com
You've now created a Minecraft painting!
 Image: pinterest.com
Hanging Your Artwork:
Displaying your creation is straightforward. Simply right-click on a wall while holding the painting.
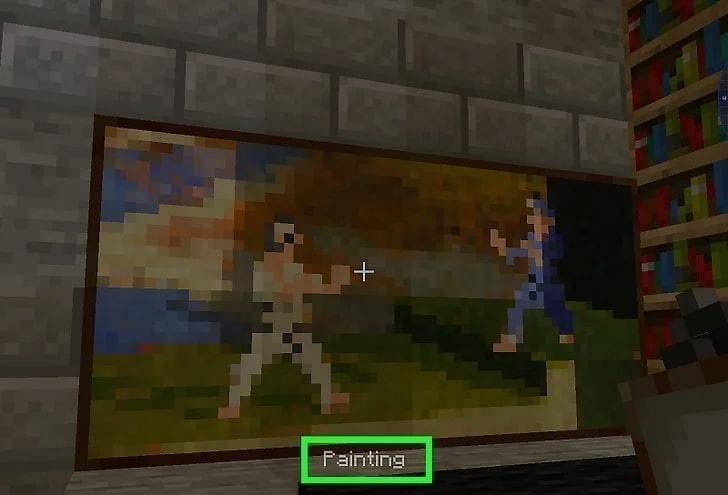 Image: wikihow.com
The image is randomly selected, adding an element of surprise to each placement.
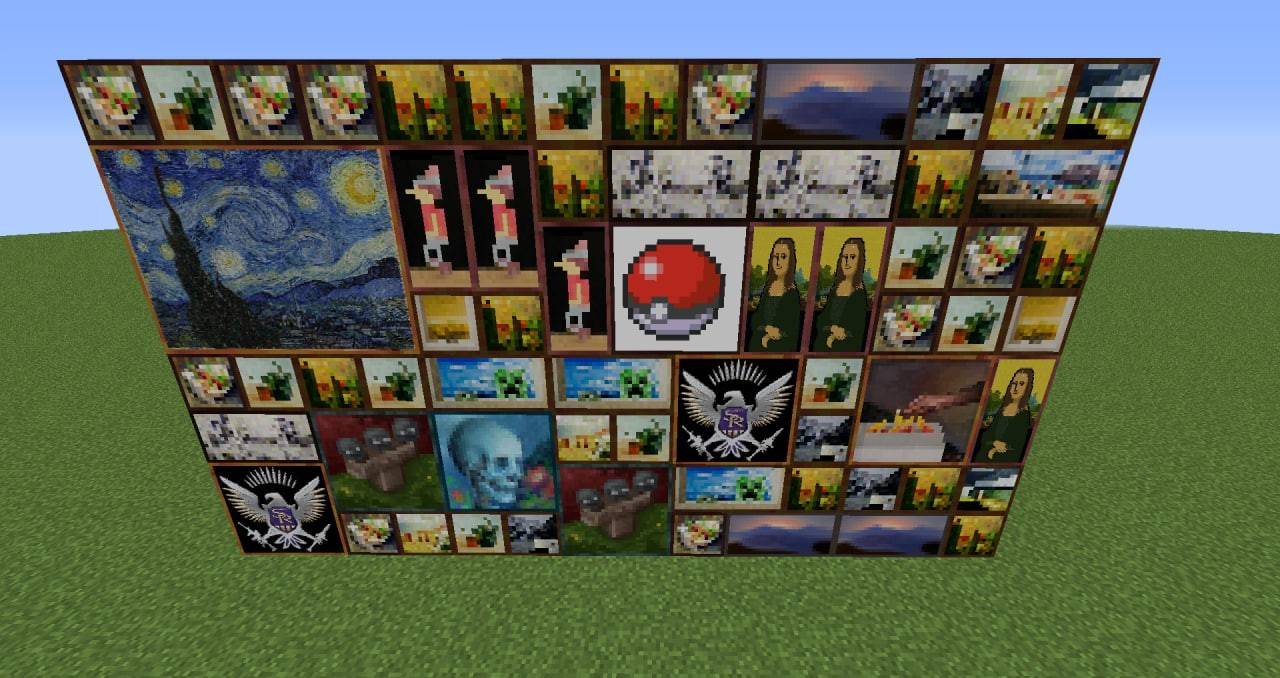 Image: cursefire.com
For precise placement, use solid blocks to mark the desired area, placing the painting in the bottom-left corner and allowing it to expand to the top-right.
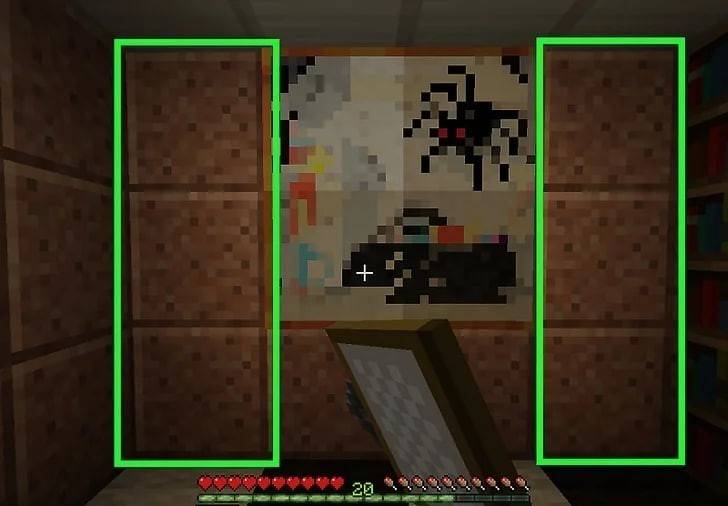 Image: wikihow.com
Note: Brightness varies depending on the painting's orientation. North/South facing paintings are brighter than East/West facing ones.
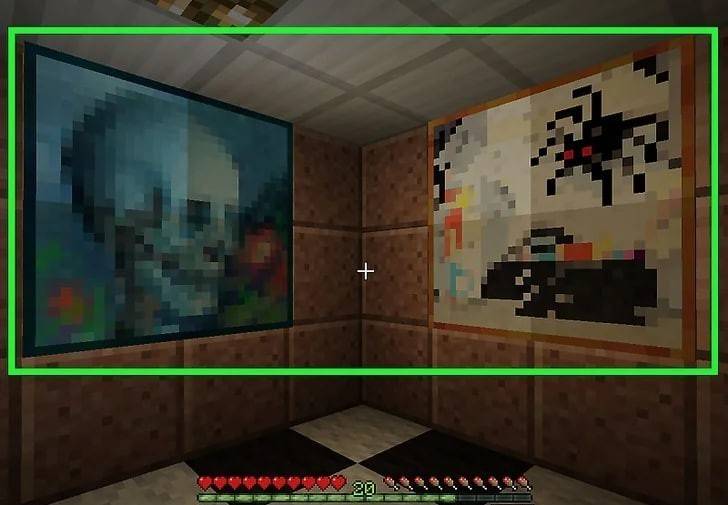 Image: wikihow.com
Custom Paintings:
Creating custom paintings requires modifying game files via resource packs; it's not possible within the standard game.
Fascinating Facts:
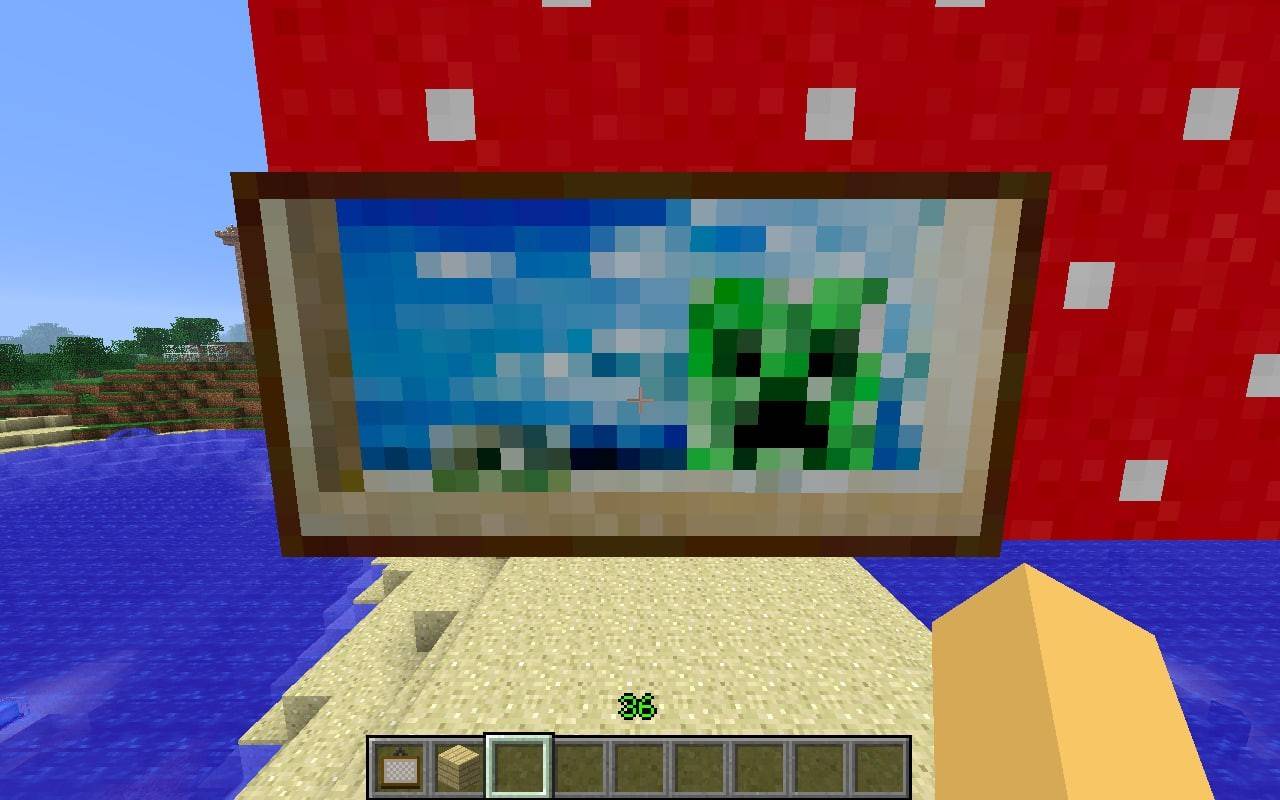 Image: autodromium.com
- Paintings placed above light sources function as lamps.
- They are fireproof!
- They can cleverly conceal chests, providing a hidden storage solution.
This guide covers the creation and placement of paintings in Minecraft, along with some lesser-known facts to enhance your in-game decorating experience.
![1xBet [Updated]](https://imgs.yx260.com/uploads/76/1719623227667f5e3be7616.jpg)