Top Horse Classes in Dead Rails: A Tier List
If you're eager to explore the vast world of Dead Rails and achieve impressive distances without meeting an untimely end, choosing the right class is crucial. To save you from the frustration of trial and error, I've crafted the ultimate Dead Rails class tier list. Let's dive in and see which classes will help you conquer the game.
Recommended Videos
Table of contents
All Dead Rails Class Tier List S Tier Dead Rails Classes A Tier Dead Rails Classes B Tier Dead Rails Classes C Tier Dead Rails Classes D Tier Dead Rails Classes
All Dead Rails Class Tier List
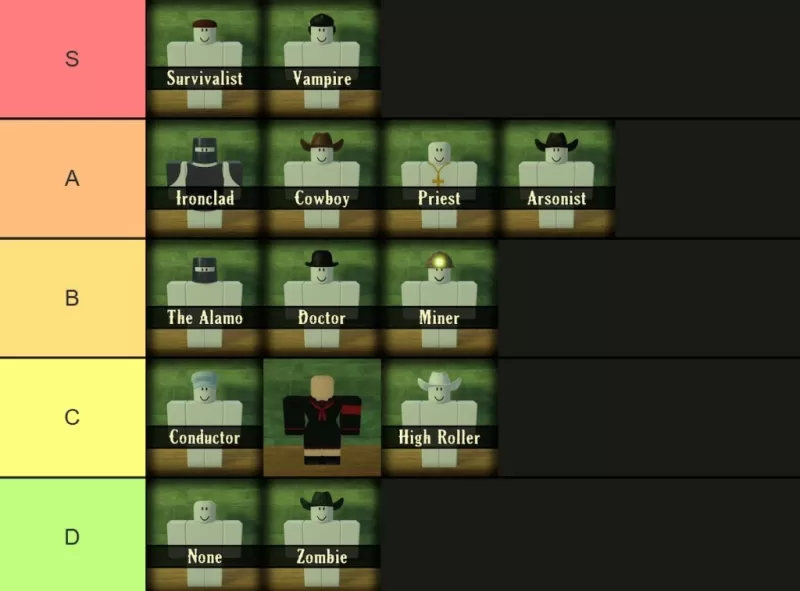
I know this Dead Rails class tier list might stir up some debate, but hear me out. The Vampire remains a top pick, even after numerous updates, while the Survivalist has surged in popularity recently. On the flip side, the Zombie class continues to disappoint, still unable to use Snake Oil. Teamwork plays a role, but let's focus on individual class strengths. Remember, it's about enjoying the game with friends, not just about min-maxing.
S Tier Dead Rails Classes
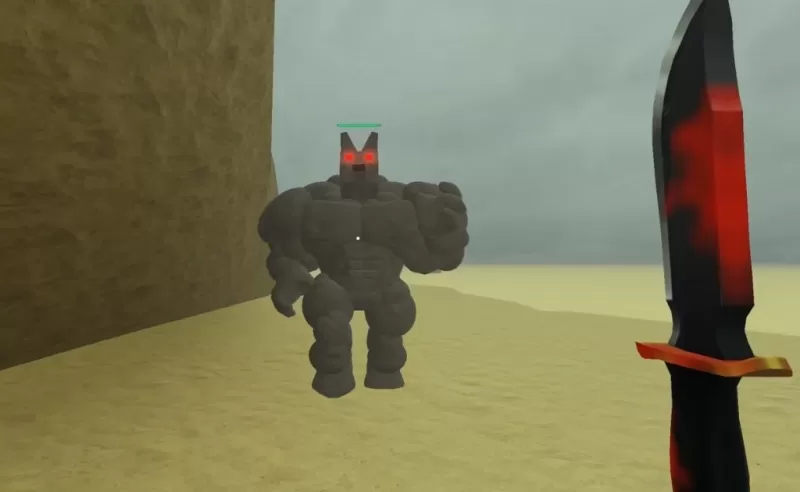
It's no surprise that the S Tier is dominated by classes with exceptional damage output. The Survivalist and Vampire stand out as the cream of the crop, with the Ironclad coming close but not quite making the cut.
| **Name** | **Cost** | **Info** |
| Survivalist | 75 | The Survivalist starts with a Tomahawk and becomes more formidable as your health decreases. Even at full health, you hit harder than most classes, though this advantage might be nerfed soon. This class excels against tough enemies that don't go down easily, offering a unique edge in combat. |
| Vampire | 75 | The Vampire thrives on speed and aggression, outpacing horses and sprinting zombies. Your melee attacks are devastating, often taking down zombies in just three swings. However, you must avoid sunlight, making shadows your ally. You spawn with a Vampire Knife that heals on every hit, encouraging a relentless attack strategy. |
A Tier Dead Rails Classes
A Tier classes offer strong performances but aren't as reliable for solo survival. They still pack a punch, though their effectiveness is more pronounced in team settings. Ironclad is a standout here.
| **Name** | **Cost** | **Info** |
| Ironclad | 100 | The Ironclad is equipped with full armor, making you much harder to kill but slightly slower. It's not ideal for solo runs, but in a team, shotguns and close-quarters combat make you a formidable force. |
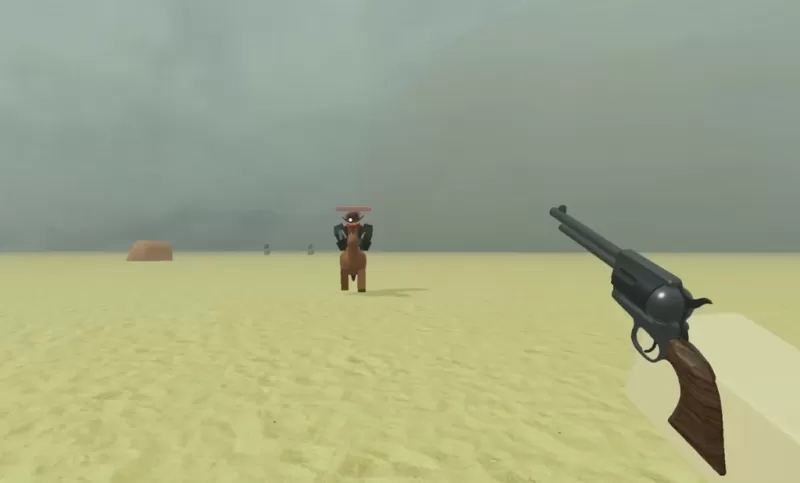
| Cowboy | 50 | The Cowboy starts with a revolver, ammo, and a horse, giving you a strong early-game advantage. This class excels in early fights and during chaotic Blood Moon nights, with the added benefit of selling the revolver for extra cash if you have the Game Pass. |
| Priest | 75 | The Priest comes armed with Crucifixes and Holy Water, effective against enemies and immune to lightning. While not ideal for solo play, the Priest's throwables can significantly benefit larger teams, offering crucial support. |
| Arsonist | 20 | The Arsonist excels in chaos, starting with Molotovs and enhanced fire damage. Perfect for clearing out groups of enemies or towns, especially in confined spaces where you can control the pace. A horse enhances your hit-and-run strategy. |
B Tier Dead Rails Classes
B Tier classes are specialists, shining in specific situations. They're invaluable in group settings but might not hold up as well solo. The Doctor, for example, is a budget-friendly support class.
| **Name** | **Cost** | **Info** |
| The Alamo | 50 | The Alamo focuses on fortification, starting with Sheet Metal, Barbed Wire, and a helmet. This class is perfect for securing the Train early on and holding the line against enemy waves. |
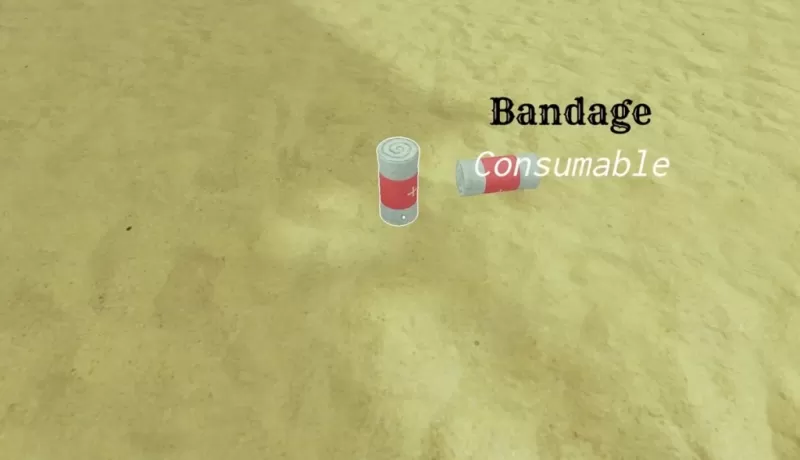
| Doctor | 15 | The Doctor is your go-to for healing and reviving teammates at the cost of half their own health. It's one of the cheapest classes but invaluable in team play. Selling bandages and snake oil can give you a $40 boost. |
| Miner | 15 | The Miner is ideal for resource gathering and nighttime exploration, with a helmet for light and a Pickaxe that breaks ore quickly. While not combat-focused, their utility is unmatched for material collection. |
C Tier Dead Rails Classes
C Tier classes offer good utility but are less effective solo. The Conductor, for instance, is essential in large teams for managing the Train's speed.
| **Name** | **Cost** | **Info** |
| Conductor | 50 | The Conductor manages the Train's speed, starting with Coal and reaching up to 84. Lacking a melee weapon at spawn, they need protection early on. They no longer suffer health penalties, making them slightly more durable. |
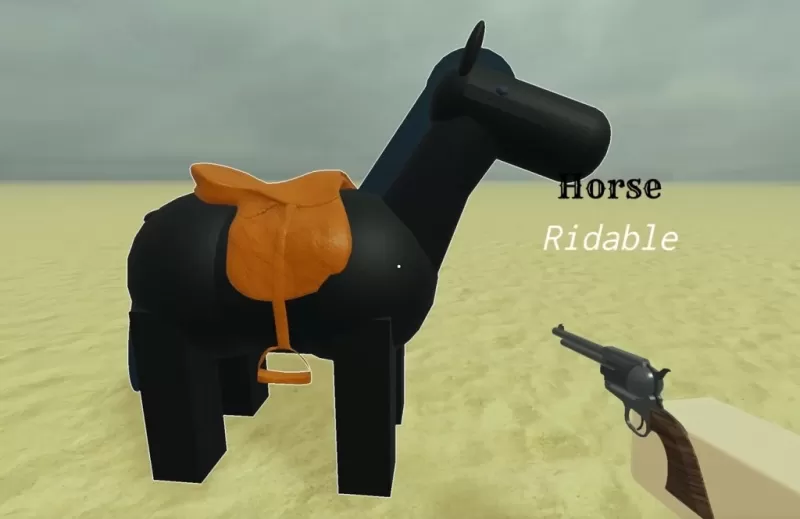
| Horse | Unlockable through the Horsing Around gamemode | The Horse Class turns you into a horse, unlocked during the 2025 April Fools event. With standard horse stats and a large hitbox, navigating tight spaces can be tricky. You can ride players but not the train or other horses. |
| High Roller | 50 | The High Roller earns 1.5x money from bags, perfect for quick cash accumulation. However, they attract lightning during storms, making them a high-risk, high-reward choice. |
D Tier Dead Rails Classes
D Tier classes represent the bottom of the barrel. The default class is a solid starting point for beginners, while the Zombie class is severely underwhelming.
| **Name** | **Cost** | **Info** |
| None | Free | The None class is the default, offering no perks but also no drawbacks. It's a great way for beginners to learn the game and figure out their preferred playstyle before investing in a class. |
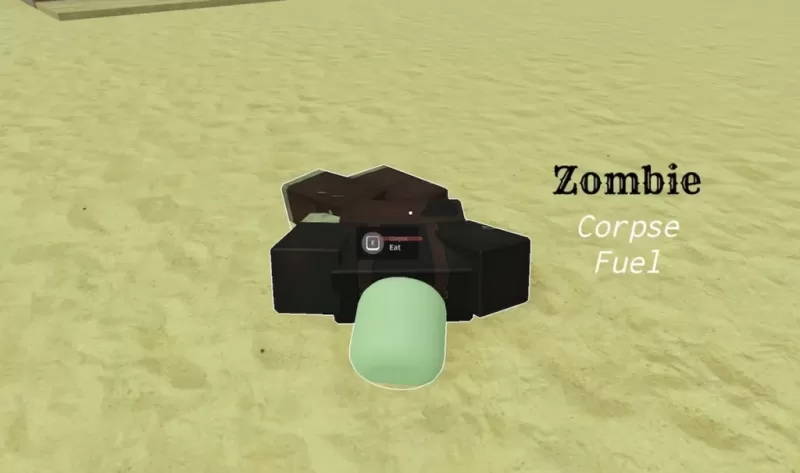
| Zombie | 75 | The Zombie can heal by feeding on corpses and has stealth advantages, but lacks access to Bandages or Snake Oil. While it has some niche uses, it remains a weak choice overall. |
That's the complete rundown! I hope this Dead Rails class tier list helps you achieve new heights and dominate the game. Don't forget to check out our Dead Rails codes and learn about Dead Rails challenges. Stay tuned for what the next update might bring!
Latest Articles
![1xBet [Updated]](https://imgs.yx260.com/uploads/76/1719623227667f5e3be7616.jpg)